
How to Carve a Pumpkin
Source
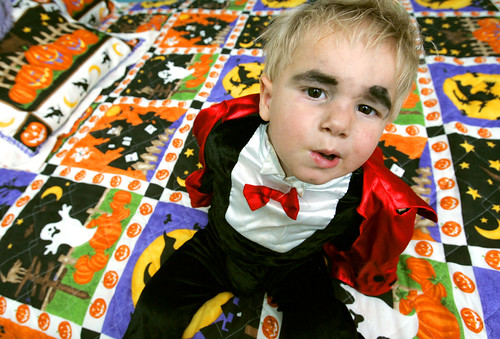
The time of year is growing near; children will prowl the streets dressed up in an assortment of different witch, Spiderman and scarecrow costumes provided by mums – armed to the teeth with the cutest smiles ready to charm their way into your candy collection….
Of course, this time of year is Halloween!
However, are you fully prepared? In essence, have you laid the foundations of what every household requires every time October 31st rolls around….a Pumpkin! And now, let’s be honest. Do you really know how to carve a killer looking pumpkin? Or do you buy one every year and hope it will eventually carve itself!? Alton Towers Breaks sent us this handy guide to get your carve on…
Pumpkin carving
Source
Pumpkin Carving is a great activity you can do with the children. The beauty of doing pumpkin carving with little ones is that you can be creative as possible; the kids will be so excited you will have thought they have already eaten all the candy in the house already!
So, all you need to do is grab your children and their friends, play the ‘Monster Mash’ in the background, follow these instructions and let your children’s imagination drive your creative pumpkin carving process!
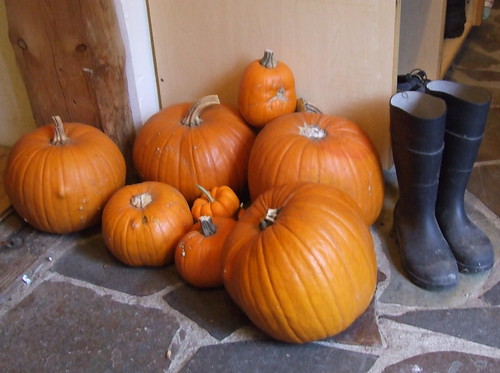
1) Buy a pumpkin. Select one without any cuts or marks and which sits flat on a table without rolling around.
2) Grab the necessary tools, these consist of:
- Boning Knife
- Paring Knife
- Ice Cream Scoop (for the pumpkin insides…not ice cream for the kids!)
- Bowl
- Erasable Marker
- Newspaper
- Kitchen Towel
4) Now for the mucky bit….Scooping the inside of the pumpkin! Now, we all know that children love to get as dirty as possible; so this part of the process is definitely for small hands! Get the children to get stuck into the pumpkin, pulling away all the pulp and seeds and putting them in a separate bowl. Give one of the little ones an ice cream scoop and let them get to work, scraping at the pumpkins inner surface. The more you scrape, the more the pumpkin will light up!
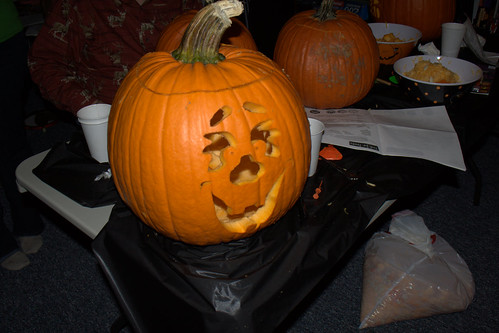
5) Now here’s the really creative part. Have a special pumpkin meeting with the children and discuss what kind of face you want to carve out. Here are some potential ideas.
Source

Source

Source
After discussing, help the children draw the face on the pumpkin. After the drawing is done, the adult should cut into the markings with the paring knife. After you have done that, push the pumpkin through and your face should be nicely cut out! With the left over chunks, don’t check them away! Utilise them for ears, eyebrows and noses using toothpicks to hold them in place.
6) You’re nearly finished! Place a small candle inside the pumpkin head – and then light up when the time is near with the lid placed on top over it! Viola! A lovely looking pumpkin.
What to do with the Pumpkin Remnants?
Did you know that when it comes to pumpkins that pretty much every part of the pumpkin can be eaten? Save all the scooped out pumpkin and make a delicious pumpkin pie, pumpkin soup, pumpkin pancakes or even pumpkin enchiladas! The list goes on. For a few incredible recipes, head over to this site!


.jpg)


No comments:
Post a Comment